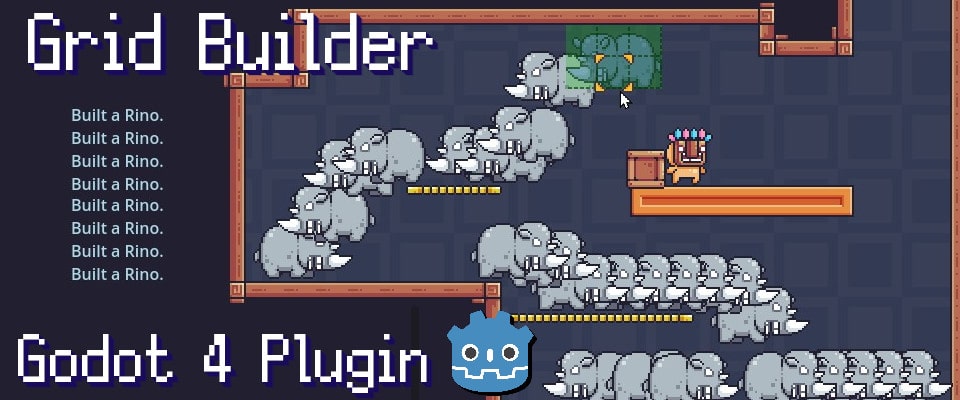
Grid Building Plugin for Godot 4
GridBuilding v5.0.0 - Drop-in Grid Building & Manipulation for Godot 4
Snap into action with the GridBuilding Plugin—your complete 2D grid-based building toolkit for Godot 4! Designed for TileMapLayer grids, it's perfect for crafting farms, bases, cities, or any grid-based game without writing the building system from scratch.
🎥 Learn & Get Started
Video Tutorials
🎬 Complete Tutorial Series - Learn grid building step-by-step!
- Setting up your first building system
- Creating custom Placeables
- Adding placement rules
- Customizing the UI
📹 Project Updates - See what's new in each version
Essential Resources
- 📚 Documentation: gridbuilding.pages.dev - Complete guides and API reference
- 📝 Devlog: Itch.io Updates - Release notes and detailed changelogs
- 🎮 Support: Linktr.ee/ChrisTutorials - Discord, Patreon, Ko-fi
- 💬 Community: Private Discord channel (link in README after purchase)
🎨 Perfect For
- 🏡 Farm Simulators - Plant crops, place buildings
- 🏗️ City Builders - Zone and construct
- ⚔️ Strategy Games - Unit positioning, defenses
- 🏭 Factory Games - Production line design
- 🧩 Puzzle Games - Grid-based mechanics
- 🏰 Base Building - Tower defense, RTS bases
- 🎮 Roguelikes - Dungeon building
- 📦 Logistics Games - Warehouse management
Supports: Top-down, isometric, side-view, or custom perspectives
🎯 What's New in v5.0.0
🏗️ Automatic Dependency Injection
- No more manual wiring! Systems automatically discover and connect to each other
- GBInjectorSystem handles validation automatically—no manual calls needed
- Cleaner node hierarchy with well-defined responsibilities
- Less boilerplate code to write and maintain
- 📖 Learn about Dependency Injection
⚙️ Unified Configuration
- New GBConfig resource puts all settings in one place
- No more hunting for configuration across multiple nodes
- Centralized templates and visual settings
- Easier to adjust and fine-tune your building system
🔄 Enhanced Building Features
- Three build modes: single placement, drag painting, or area selection
- Grid-aware rotation with configurable increments (90°, 60°, 45°, 30°)
- Improved collision detection handles edge cases better
- Rotate, flip, and manipulate objects with grid alignment
- 📖 Building System Workflow
📊 Reliability Improvements
- 1540 automated tests running at 100% pass rate
- Standardized validation system across all components
- Better error messages when things go wrong
- Built-in diagnostic tools for troubleshooting
🎨 UI & Visual Updates
- Two pre-made UI themes (Cool Blue and Warm Earth)
- Fixed icon sizes for consistent visual feedback
- Better keyboard navigation in placeable lists
- Cursor feedback shows build/manipulation states
📚 Documentation Overhaul
- 350+ pages of guides and API reference
- Step-by-step workflow documentation
- Automatic linking between related classes
- Migration guide for v4.3.1 users
- 📖 Browse Complete API Reference
🎮 Core Features
Grid-Snapped Building
- Objects snap perfectly to your TileMapLayer grid
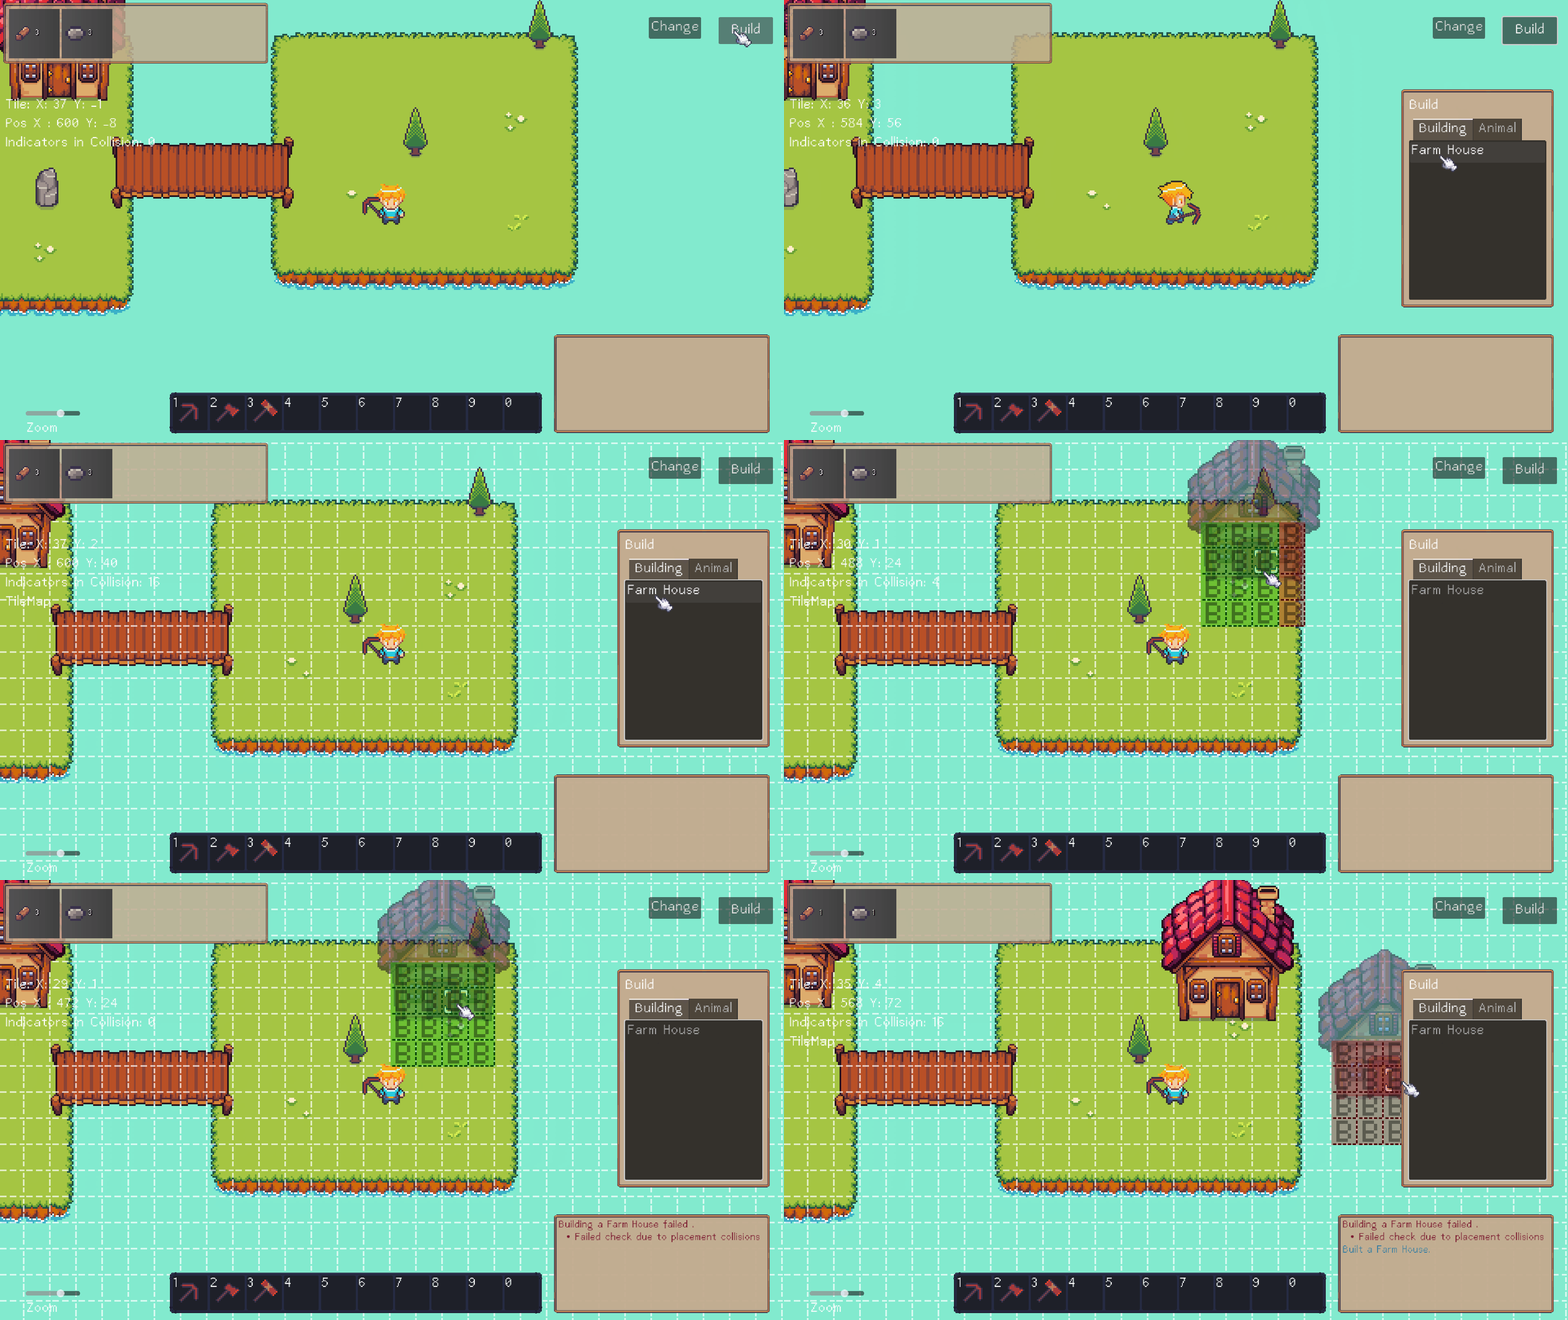
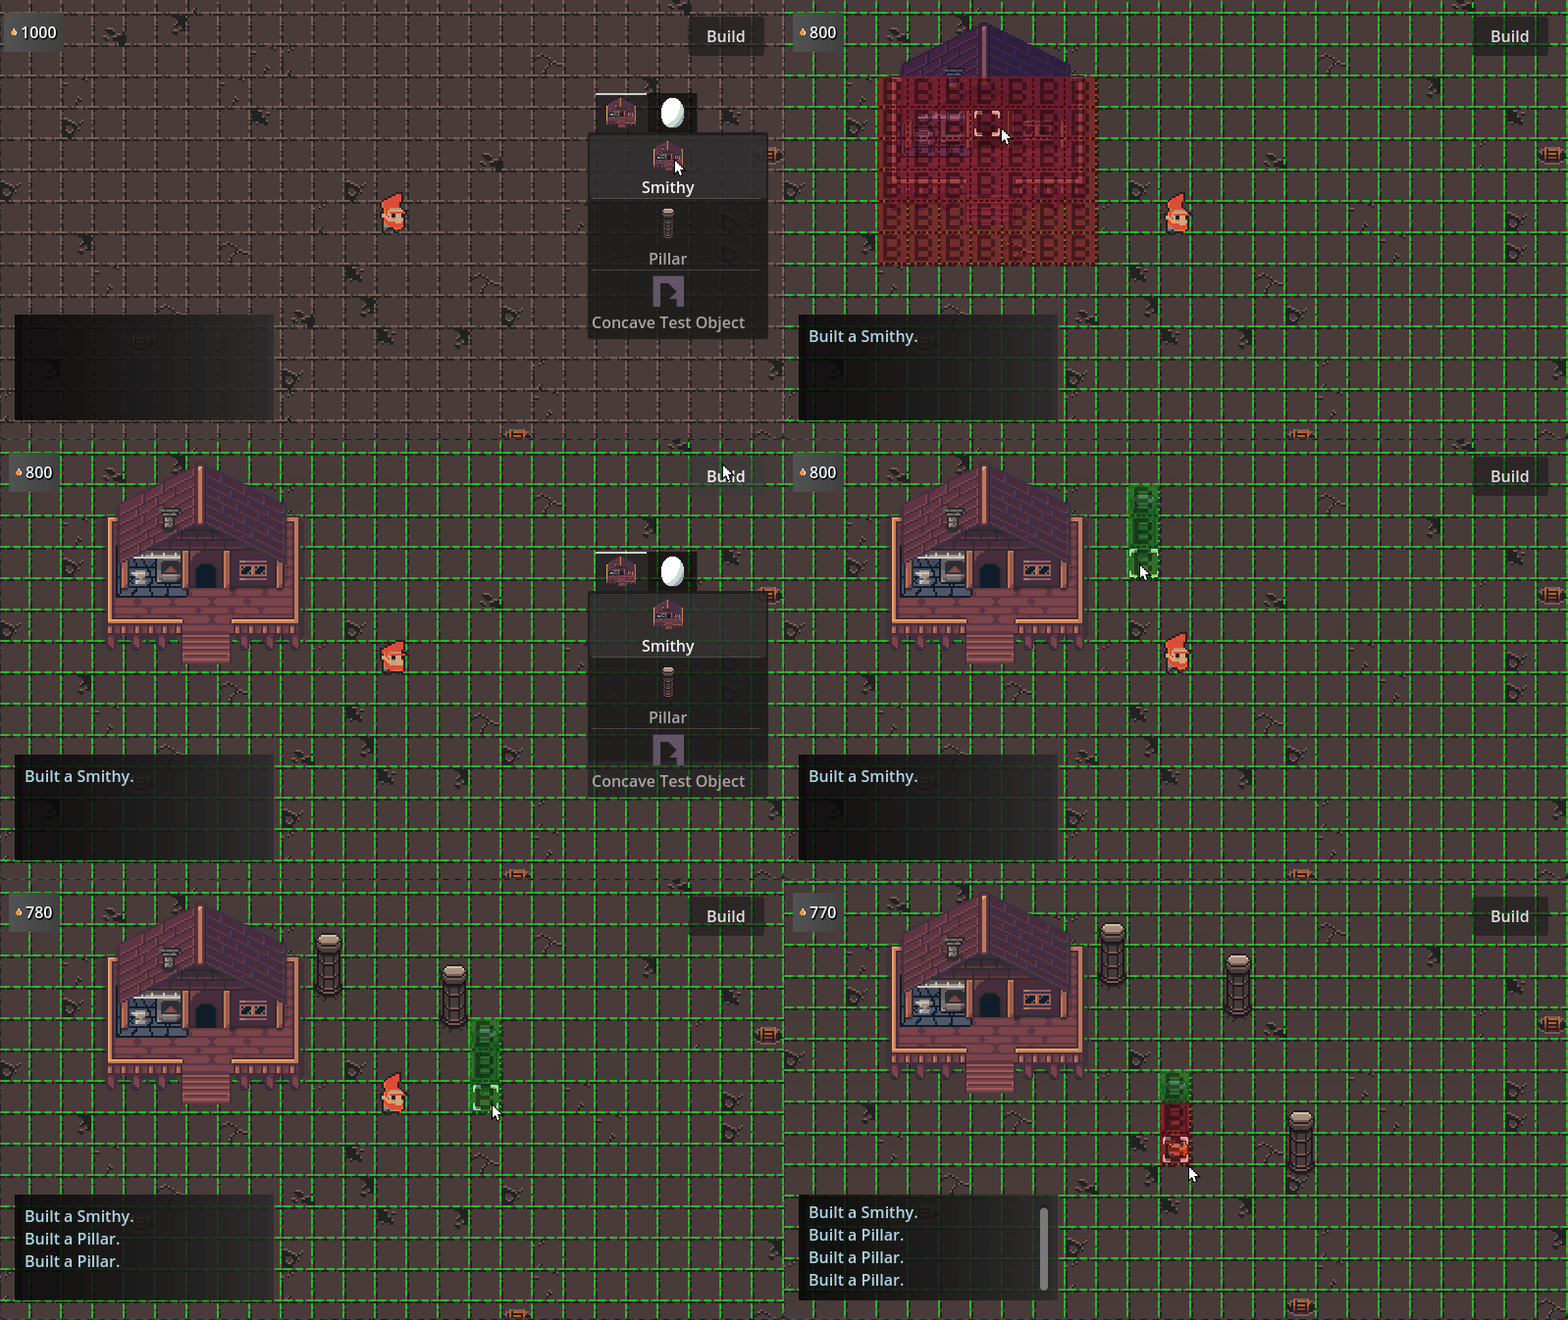
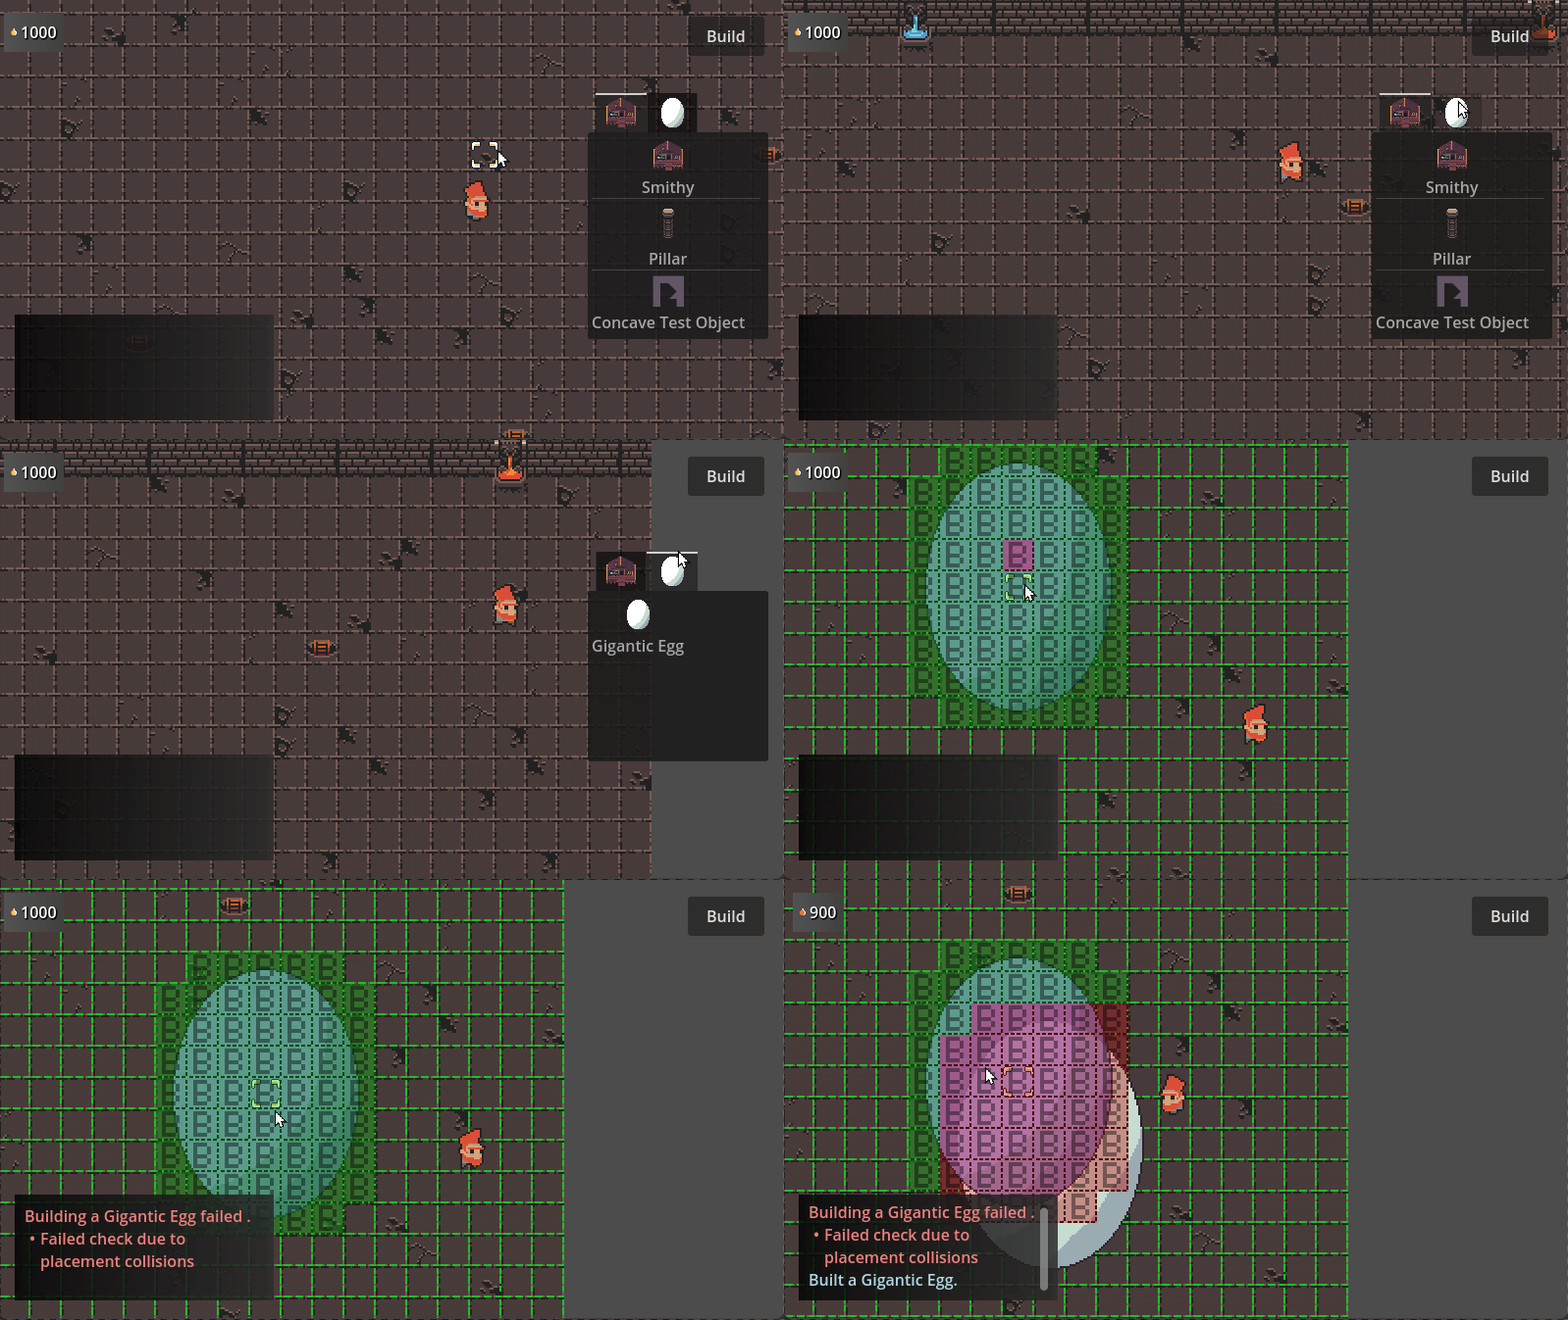
- Real-time visual feedback shows valid/invalid placement
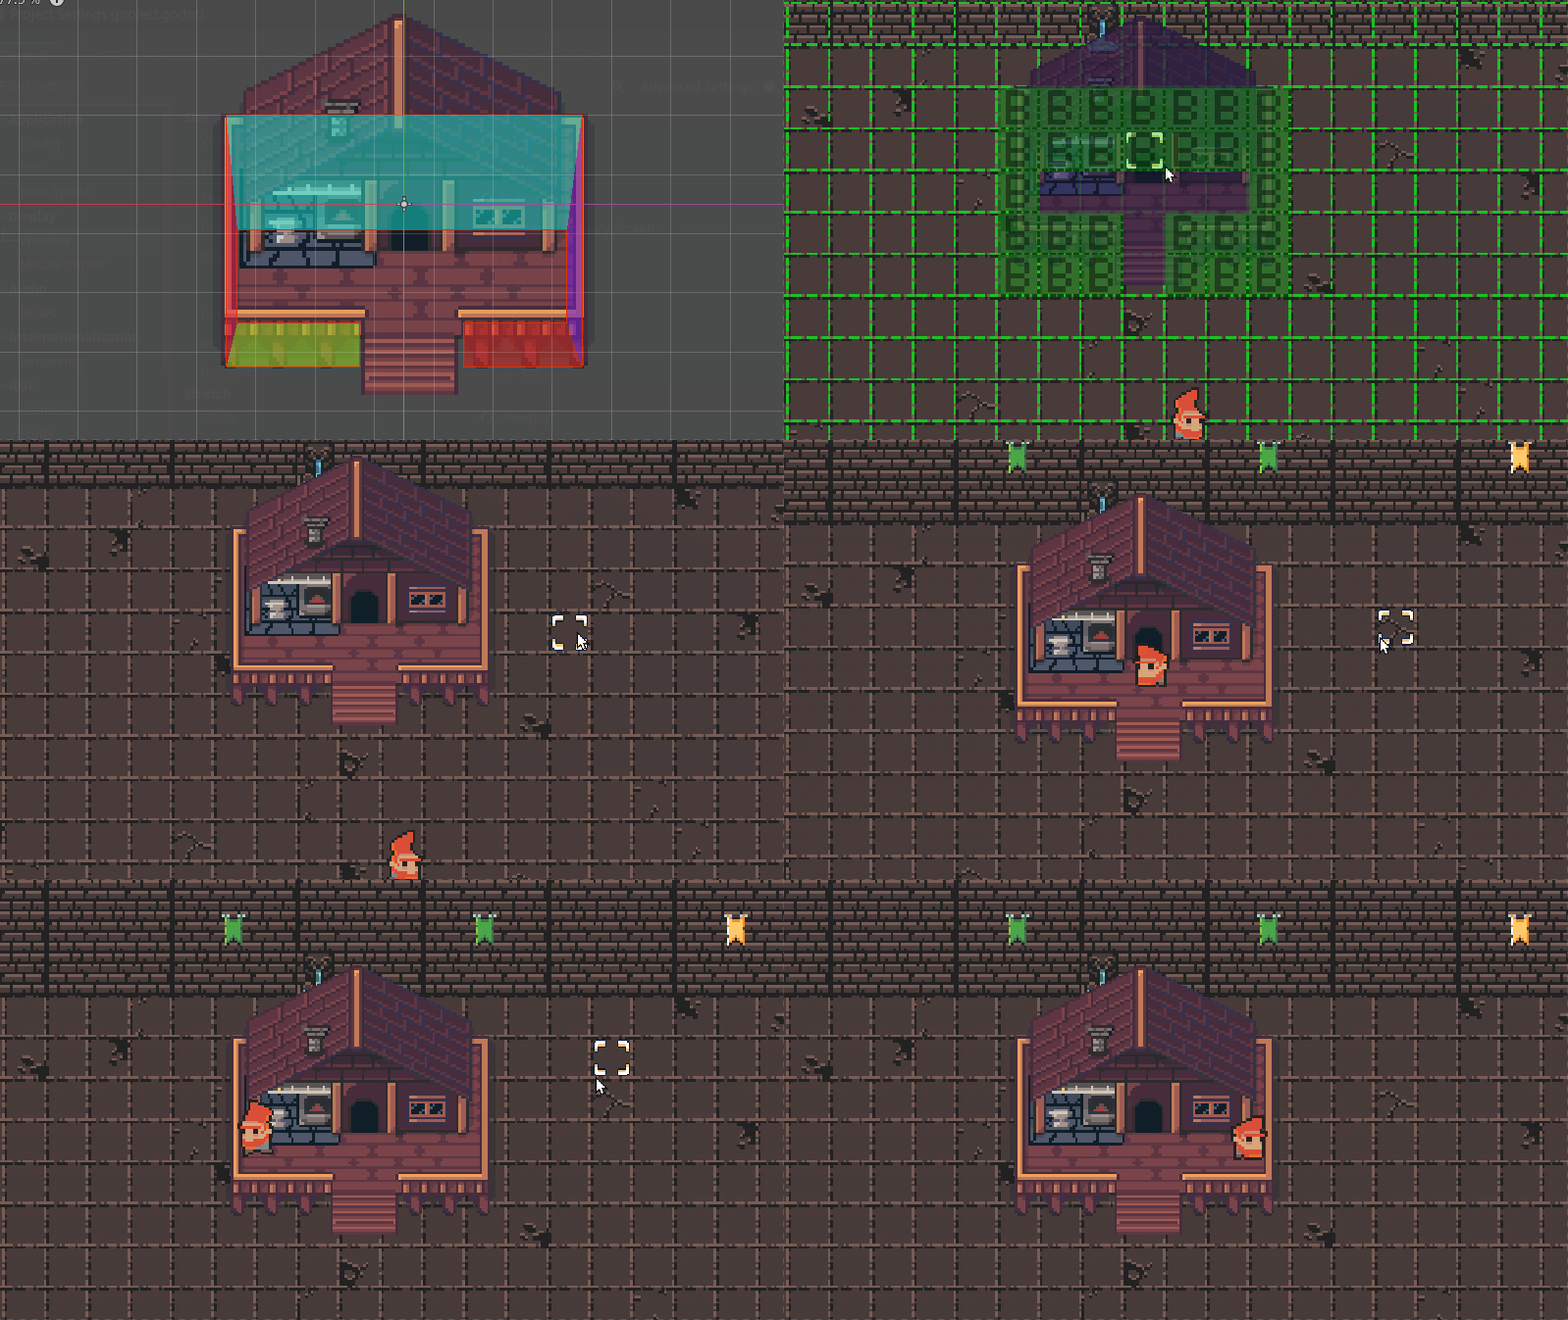
- Support for multi-tile buildings (2x2, 3x3, custom sizes)
- Works with any tile size (8x8, 16x16, 32x32, or custom)
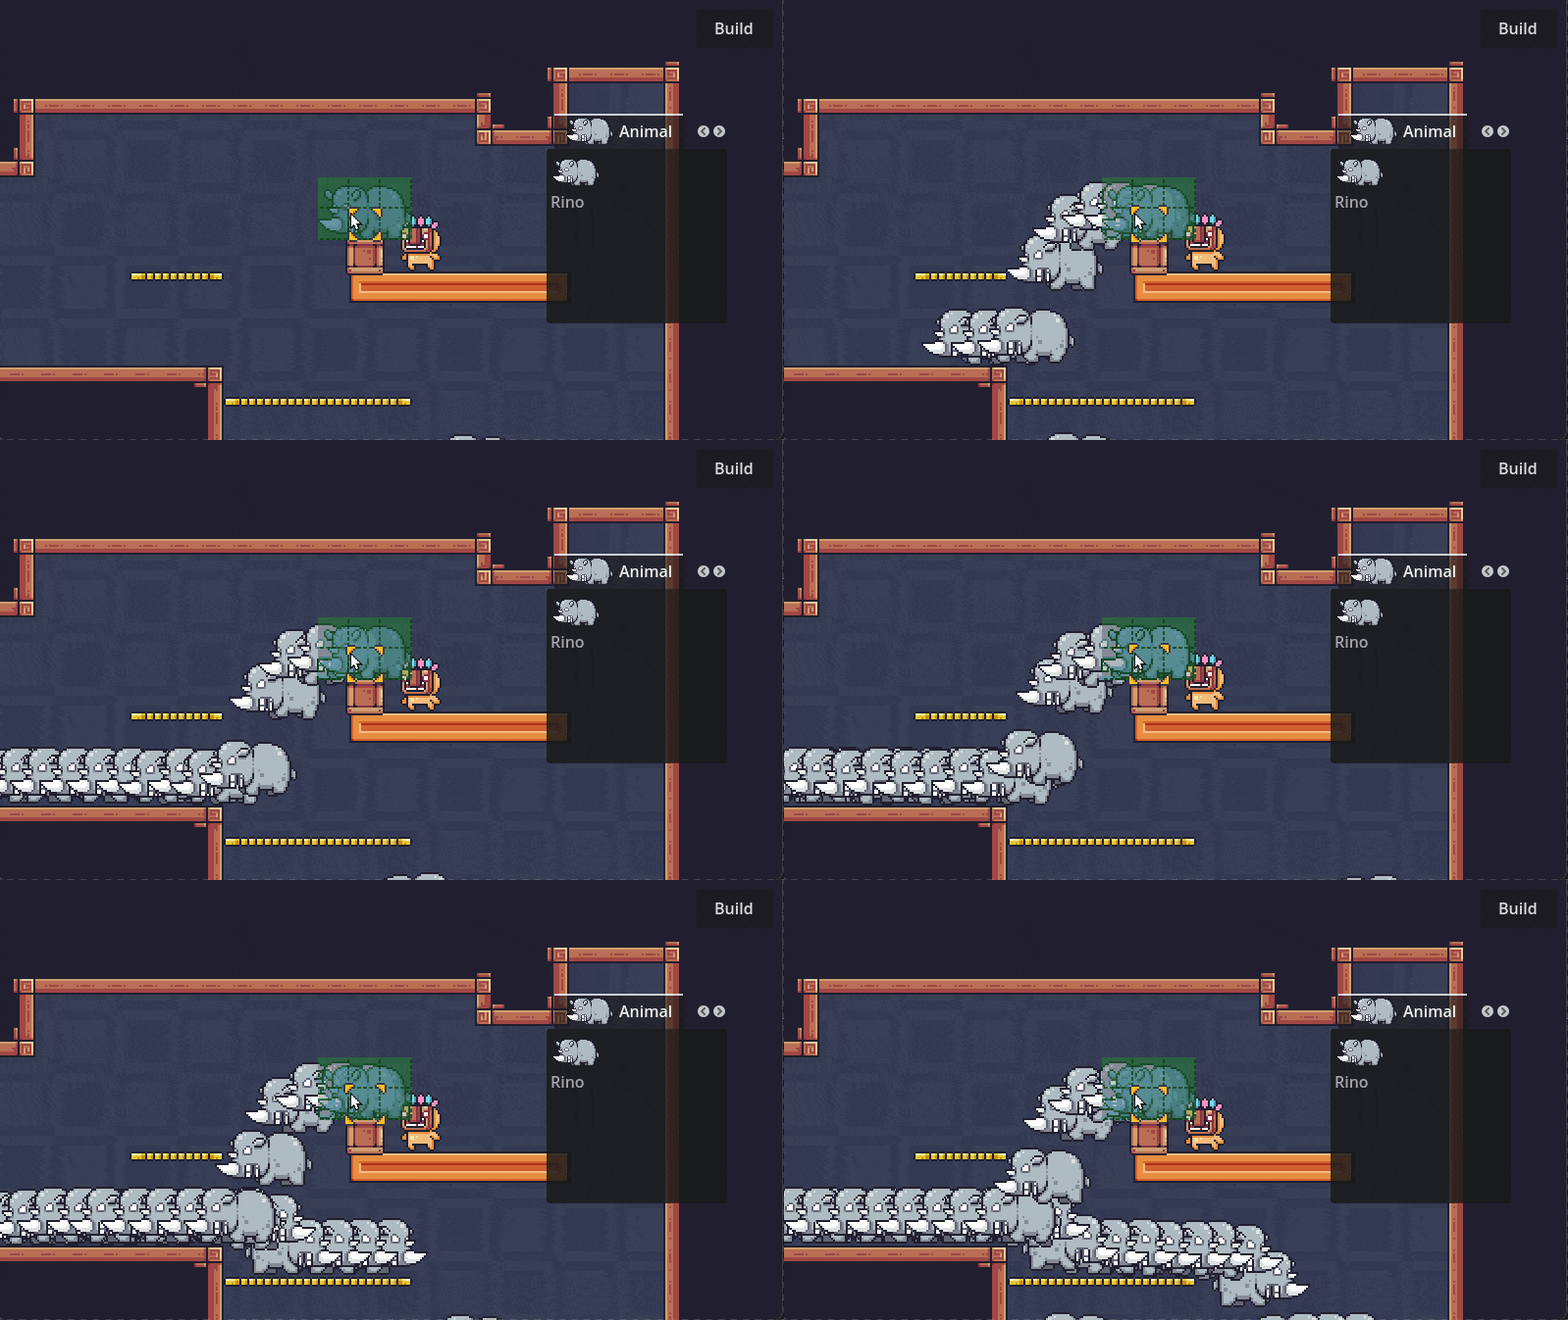
- Three ways to build: single placement, drag painting, or area selection
Object Manipulation
- Move - Relocate placed objects by clicking to select, then clicking where to move
- Rotate - Spin objects with configurable angles (90°, 60°, 45°, 30°, or custom)
- Flip - Mirror objects horizontally or vertically
- Demolish - Remove objects (optionally recover spent resources)
- All transformations maintain grid alignment automatically
Placement Validation
- Built-in rules for collisions, bounds checking, and tile data
- Add custom rules by extending the PlacementRule class
- Visual indicators show why placement is valid or invalid
- Action log explains placement failures with clear messages
- Per-object rule configuration for specific building requirements
- 📖 Placement Rules Guide
Grid Targeting
- Smooth tile tracking without jitter
- Mouse and keyboard support (handled by GridPositioner2D)
- Works correctly with camera movement and zoom
- TargetingShapeCast2D detects objects under cursor
- Different behavior for build mode vs manipulation mode
- GridPositioner2D now owns movement logic (keyboard nudging and mouse tracking)
- 📖 Grid Targeting Guide
Visual Feedback
- Color-coded indicators show placement validity at a glance
- Each rule gets its own indicator (collision check, bounds check, etc.)
- Indicators update in real-time as you move or rotate
- Cursor changes to show current mode (build, move, demolish)
🚀 Why Use GridBuilding?
Save Development Time
- Drop-in templates get you started in minutes
- Pre-built systems handle the complex stuff
- Focus on your game mechanics, not grid math
- Extensive demos show how everything works together
Works Out of the Box
- Comprehensive demos for top-down, isometric, and platformer perspectives
- Pre-made UI components you can customize
- Two included themes for quick visual styling
- Video tutorials walk you through setup step-by-step
Flexible & Extendable
- Works with any 2D grid game style
- Create custom placement rules for game-specific logic
- Modify source code as needed
- Integrates cleanly with existing projects
Well Supported
- Active Discord community for questions
- Regular updates with new features
- Documentation covers common use cases
- Developer responds to issues and requests
📦 What's Included
Core Plugin
- Complete Grid Building system
- All source code with comments
- Dependency injection setup (GBInjectorSystem, GBCompositionContainer)
- Building, Targeting, Manipulation, and Validation systems
- Visual feedback components and cursor management
Templates & UI
- systems.tscn - Pre-configured core systems
- Positioner stack templates
- UI themes (Cool Blue, Warm Earth)
- Placeable selection UI components
- Example GBConfig setups
Demo Scenes
- Top-Down Demo - Farm/base building example with inventory integration
- Isometric Demo - City builder perspective with coordinate transformations
- Platformer Demo - Side-view building example
- Multiple test scenes showing different configurations
- Example Placeables with various validation rules
Bonus Addons
- Grid Building Inventory - Simple node-based inventory system
- Works with SpendMaterialsRuleGeneric for resource costs
- ItemContainer for item management
Documentation
- Complete API reference (119+ classes documented)
- End-to-end workflow guides
- Common use case examples
- Troubleshooting tips
🎓 Quick Setup (5 Minutes)
1. Install
- Download and extract to
addons/grid_building - Enable in Project Settings → Plugins
2. Add Systems
- Drag
templates/systems.tscninto your scene - Make it local (Scene → Make Local) to customize
3. Set Up Dependency Injection
- Add GBInjectorSystem node to your scene
- Assign a GBCompositionContainer resource (templates provided)
- Configure GBConfig with your settings
4. Configure Grid
- Add
positioner_stack.tscnto your scene - Set GridPositioner2D collision mask to match your TileMapLayer
- Adjust TargetingShapeCast2D shape if needed
5. Create a Placeable
- Right-click FileSystem → New Resource → Placeable
- Set
packed_sceneto your building scene - Add placement rules (CollisionsCheckRule, WithinTilemapBoundsRule, etc.)
6. Set Up Input
- Project Settings → InputMap
- Add actions:
build_mode,rotate_left,rotate_right,flip_horizontal,flip_vertical,demolish,place,cancel
7. Test!
- Run your scene, press build mode key, place objects
- Check the demos if you get stuck
Watch the video tutorials for detailed walkthrough!
❓ FAQ
Q: What Godot version do I need?
A: Godot 4.4.0 or newer (tested on 4.4.0, 4.4.1, 4.5 stable). Uses TileMapLayer, so older versions won't work.
Q: Does it work with isometric grids?
A: Yes! Includes isometric demo with coordinate transformations and collision detection.
Q: Can I move or demolish placed objects?
A: Yes, the ManipulationSystem handles move, rotate, flip, and demolish.
Q: Preview disappears over UI?
A: Set UI Control nodes' Mouse → Filter to "Pass", or configure ui_mouse_handled in settings.
Q: Can I add custom placement rules?
A: Yes, extend PlacementRule and implement the validate_placement() method. Add to your Placeable or global rules. Full guide here.
Q: Will this work with my existing project?
A: Yes, as long as you're using TileMapLayer. The plugin won't interfere with existing code.
Q: Does it support keyboard input?
A: Yes! Enable enable_keyboard_input in GridTargetingSettings, then assign input actions in Project Settings → InputMap for the navigation features. Movement will be handled automatically by GridPositioner2D.
Q: How do I get help?
A: Check README.md for Discord invite. Post in support channel with screenshots/logs.
💎 What Makes It Solid
Thoroughly Tested
1540 automated tests running at 100% pass rate. This means common edge cases and bugs are already caught and fixed.
Well Documented
350+ documentation pages at gridbuilding.pages.dev. If you get stuck, there's probably a guide for it. Check out the Guides section or API Reference.
Actively Supported
Regular updates, responsive Discord community, and devlog showing ongoing development.
What You Get:
- Complete Grid Building Plugin with all features
- Ready-to-use template scenes to get started fast
- Three demo projects (top-down, isometric, platformer)
- Bonus grid building inventory addon
- Full documentation access (350+ pages)
- Video tutorials
- Lifetime updates (all minor versions and patches)
- ✅ Use in commercial projects (games, apps, tools)
- ✅ Edit and modify source code for your own projects
- ✅ Distribute as part of your game
- ❌ Cannot resell or redistribute the plugin itself
- ❌ Cannot redistribute as standalone asset
License:
Commercial Use Allowed
📅 Version Info
Current Version: 5.0.0
Release Date: October 6, 2025
Godot Compatibility: 4.4.0, 4.4.1, 4.5+ (stable)
Change History: View Full Devlog
Still exploring?
- 📖 Read the docs: gridbuilding.pages.dev
- 🎥 Watch tutorials: YouTube Playlist
- 📝 Read the devlog: Latest Updates
- 💬 Questions? Leave a comment below or join Discord (link in README)
Get building with GridBuilding v5.0.0—download now and add grid-based building to your Godot 4 game!
Have questions? Leave a comment!
| Updated | 12 days ago |
| Status | In development |
| Category | Assets |
| Rating | Rated 5.0 out of 5 stars (5 total ratings) |
| Author | Chris' Tutorials |
| Made with | Godot |
| Tags | 2D, City Builder, Godot, godot4, Metroidvania, Side Scroller, Tilemap, Top-Down, User Interface (UI) |
| Links | Patreon, Kofi |
Purchase
In order to download this asset pack you must purchase it at or above the minimum price of $32 USD. You will get access to the following files:
Development log
- 5.0.0: Dependency Injection, Robust Collision Mapping & Enhanced Reliability12 days ago
- 4.3.1: Tile Positions Access, RuleResult updates, Readiness GuardMar 22, 2025
- 4.3.0 Rule Improvements & Validation OverhaulMar 16, 2025
- 4.2.0 Object Info & Mode Selection HotbarDec 28, 2024
- 4.1.0 Manipulate with Move & Demolish ModesSep 15, 2024
- Upcoming Grid Builder Updates for Godot 4.3Aug 18, 2024
- 4.0.3 Compatibility Fix for Godot 4.2.2Jun 09, 2024
- 4.0.2 Small Enhancements & Bug FixesJun 09, 2024





Comments
Log in with itch.io to leave a comment.
i was wondering isn't the auto tile thing in 4.5 godot doing that same thing?
Not quite. Godot auto tile is for building tile maps at editor time. This plugin is for placing game objects inside the gameplay itself and validating placement against rules. (Think survival game genre where you build a base for yourself)
😯 oh okay sorry my bad i didn't understand much on the summary of godot 4.5 . but your plugin is crazy useful 🥳.thanks for building it.i will stay on watch for sales 😁
thanks for explaining too
Appreciate the kind words. No problem at all. Check the docs for all the features. Im going to have a patch and new tutorials coming soon.
i subbed to your youtube channel,i look forward to those new tutorials, and i will read the docs too 😄
Hey I was wondering when is the next sale you plan to put up the bundle of your plugins?
Halloween mid october https://itch.io/s/160778/halloween-sale I also have all my content up on Patreon and Ko-fi
Big update for Grid Building plugin coming soon. In final polishing phases now.
Nice! Eagerly looking forward to it!
I'm wondering why does the building_system create the preview node and assigns it to the grid positioner, only to then reparent it to the manipulatable parent?
Trying to figure out the code atm
Can you ping me on the discord in the readme and i’ll help resolve the issue. The manipulatable parent should be the root node being manipulated but the preview shouldnt reparent to this so I will have to take a look. Send a screenshot of any error you’re getting if possible. Thanks
Maybe post the server or your name on this page, I don't have it.
Heres a temporary link https://discord.gg/HNF5eHN9 Message me on it, thanks.
Ill code here, probably no breaking issue?
func clear_preview():
if targeting_state.target == state.preview:
targeting_state.target == null
The statement has no effect I think
I can't open the demo project with my Godot 4.3 editor. The demo and the entire code is made with Godot 4.4, so it shouldn't be compatible.
Heads up for potential buyers.
I have it working on 4.3 stable. I will reupload the demo just encase there is some small difference that's causing you problems. Did you open with 4.3 after getting the warnings about 4.4? I have been editing in 4.4 but I don't believe I added any specific code that should not be 4.3 compatible like typed dictionaries.
Edit: I reuploaded Grid Building v4.2.0 ~ All Packages (Requires Godot 4.3+)
I get these error messages with both Godot 4.3 and 4.4 (fresh downloads each)
https://imgur.com/a/IuRgnhZ
Thanks think I found the issue. Can you try downloading the new copy one more time? It should fix all those missing UID references (minus one about the icon.svg that shouldn't effect anything) and have a clean load.
Thanks for the quick response, it works now
can you make a video how the plugin works that i can make a implementation for my game?
I have a playlist for this @
Be sure to watch the more recent videos for up to date information. I recommend using the templates zip to get started quicker since all the resources are hooked up out of the box.Hi, is there a way to click on a tile and be able to perform an action, like opening a window with information about the object?
The system is too complex to figure out what function does this or that. So I don't know if there is such a possibility.
Currently no but getting the tile or object under cursor from mouse / press position is doable. Are you looking more to select the tile or the scene objects directly?
Node2Ds can implement mouse_entered() and mouse_exited() signals as a way to trigger things like changing color to show hover overs (or communicate with a UI to show info about the hovered node).
I could see how a selection mode would be helpful for the GridBuilder plugin itself though to show hover overs. Things like RPG statistics would need to be extended by game specific code though since there's no way to know anything but basic node information inside the plugin (Could just be as simple as a custom display UI during selection or hover)
Let me know what you think - if it should be more like selecting the tile and getting a list of objects on it or just showing info of the first object under the mouse cursor. I will add something like this to the list of requested features.
Hey Chris, Can you help me with a strange issue that I can't seem to solve? I downloaded the "grid_building_demo_project_4.0.1 (Godot 4.3)" and put "grid_building-4.0.3" and "grid_building_inventory-4.0.1" in the right addon folders to test the demos (specifically the isometric one). I activate the plugins and everything works perfectly except for the saving process. When I click the save button I get an error from the debugger that says "Invalid call to function 'save' in base 'Node (PlaceableInstance)'. Expected 1 arguments. So I go and check and the save method wants a "p_include_uid" as input boolean input, so I don't know how should it work. I didn't modify anything this is the stock code downloaded from Ithc.io.
Edit: I fixed it by removing the input in the save() function inside PlaceableInstance, but I think this needs to be fixed
Another thing you and anyone else having the issue could try is going to placeable_instance.gd and editing the save function from
```func save(p_include_uid : bool) -> Dictionary:```
to
func save(p_include_uid : bool = false) -> Dictionary:
So it has a default value temporarily. This seems to be a demo specific bug but shouldn't effect regular plugin use. I will be sure this is patched for the next release which is soon.
Hi! Is there any way of deleting buildings you've placed down, or any way of modifying the code so that you are able to delete things that you place down?
Working on it right now for the next update. Will include moving objects as well through the new Manipulation System.
Ah sick! Is there any sort of ETA as to when the update will be out
Hoping for within a week or two if all goes well. I'll post on Itch, Patreon, Kofi, and probably make a YouTube video or two as soon as it's ready.
Oh sick nice! I'll definitely pick it up once that's out!
Hello Chris, I am making an isometric RTS game and I am using your plugin for the buildings and units spawn. Currently, I am using the version 3.2.2, is it safe to upgrade to version 4.0.3? or do you have any guide or recommendation for the upgrade? Thanks.
Here's the main updated setup video for 4.0. Definitely back your project up before upgrading. 4.0 has several renamed and upgraded resources so you'll see some empty properties in the node inspectors (BuildingState instead of BuildingSignalBus for instance). Placeables themselves are mostly the same. There is also an updated setup guide in the README.md let me know if you have any issues (Discord invite link also in the README)
Hey Chris! I was wondering your plans for the future with the TileMap being deprecated in favor of TileMapLayer. Will you update the plugin to use the new Node or only support current and older versions of Godot? Also, is it possible to stack objects on Isometric mode? If not, will that be added in the future?
I plan to implement for TileMapLayer and keep backwards compatibility for TileMap if possible (have to experiment more with #region for whether that can be in the same plug-in version)
There's not direct object stacking in isometric ATM. I can add it to my requested features list though. You're looking for multiple objects to occupy the same square while visually being stacked on top of each other right? (Disgaea turn based tactics comes to mind where you could pick up allies or enemies) If you have an example link, that would help - thanks.
That's lovely!
By stacking I mean something similar to Unpacking, where you can place a 2x3 table, and then on top of it you can stack different smaller tiles like decorations or a TV. But yes Disgaea is also a good example of this from what I can see. I'll try to implement it with the current version of this plugin but having it builtin would be extremely useful! I'll link two videos that I came accross before finding your plugin, maybe they will help if you decide to implement this in the future :)
Tilemap Stacking in Game
Tilemap Stacking Through CodeLooks very doable. I have it on my todo list but working on some other core features first. Thanks for the great examples.
Can it remove or move buildings yet?
Not yet but I will be working on it soon for an upcoming release update. Right now I'm working on making saving / loading with instanced scenes easier but removing and moving objects comes right after that. I will have 4.0 out soon for that and several other features and then 4.1 should be moving / removing after that. I'd like to put in the ability to recover resources spent to build in demolition as well.
Watch for updates @ https://chris-tutorials.itch.io/grid-building-godot/devlog. Should be posting soon.
hey i just got the plugin and was checking out the demo but i seems to have dependency issues with the grid_building_gut_testing addon and i can't find anywhere to get it, and the collision checks for the top-down demo does not work which might be because of the dependency issues
Have the same issues. Not sure if I even do the first step correctly. Unfortunately the youtube video doesnt work anymore. I hope I didnt lose $30 :/
well the plugin runs without that specific dependency, and if you have the same issue with the demo running into a error when starting its because the node PlaceableSelectionUI under canvas layer have a array in its properties called placeables that has a empty slot, if you remove that slot you can run the demo and place things, it just don't check placement rules for some reason. My guess is that Chris restructured some stuff and it broke the top-down demo and didn't notice, probably a easy fix so i wouldn't worry about losing out 30$
UPDATE:
The gut testing 'addon' is just for running unit tests within the demo project to test the real addon's functionality (I probably will just move this to a folder called test in the demo project in the future) I will check the mentioned collision problems and update the empty / null placeable in the demo asap.
tried it and it works now, thanks for the quick response
I tried to combine it with project in this video but it doesnt work for me.
Ping me on discord here and I'll help sort it out. Screenshots will help, thanks. https://discord.gg/SEueCPFN
Hey Chris do you have any plans to allow for moving after placing?
Good idea for a feature. I will add it to my list - something I can implement at the same time I do object deletion / destroy. Working on finishing up testing for isometric mode atm.
My game is isometric 2D, can this plugin be used? Or after I pay the plug-in, you can provide me with modification methods
Let me make an isometric test scene and get back to you on it since I haven't made a setup for isometric yet. At the very least, the rule check shape will need to be rotated the isometric angle but let me see if it's as simple as that or if some functions will need to be modded for isometric.
Hi Chris, I bought this plugin which is great. I want to ask the same question: can this plugin be used for isometric 2D? Could you make an example scene to show how to use it? I want to switch to isometric 2D but dunno how to deal with this plugin 0.0
I'm currently writing tests for an isometric demo. I had to add support for skew which is still only in my dev version (since isometric use irregularly shaped rectangles). Currently getting collisions to work nicely. If all goes well it will be the next update and there will be a guide on how to use it with isometric.
Just added the new version that supports isometric. You'll want to take the rule_check_indicator_isometric.tscn and adjust it's size to your tile_map. You can check the demo for how to set it up for now and I'll be making a Isometric video tutorial.
I added Isometric support. For now see the demo but I'll make a video tutorial for setting up Isometric mode.
Hi ! I just bought youre plugin, it's awesome ! I follow youre tutorial too and i see i don't have the 'TopDown' folder inside the 'demo' folder, is it normal or did i do something wrong ?
The demo is now in a secondary download grid_building_inventory-3.1.0.zip. I didn't have the latest demo up there when you posted the question sorry about that! The demos are separate from the main package to reduce clutter from the plugin (and those people's main game projects). Just posted the update to the plugin so I recommend updating while you're at it. I'll have a new tutorial out soon. Let me know if you have any further questions. Thanks!